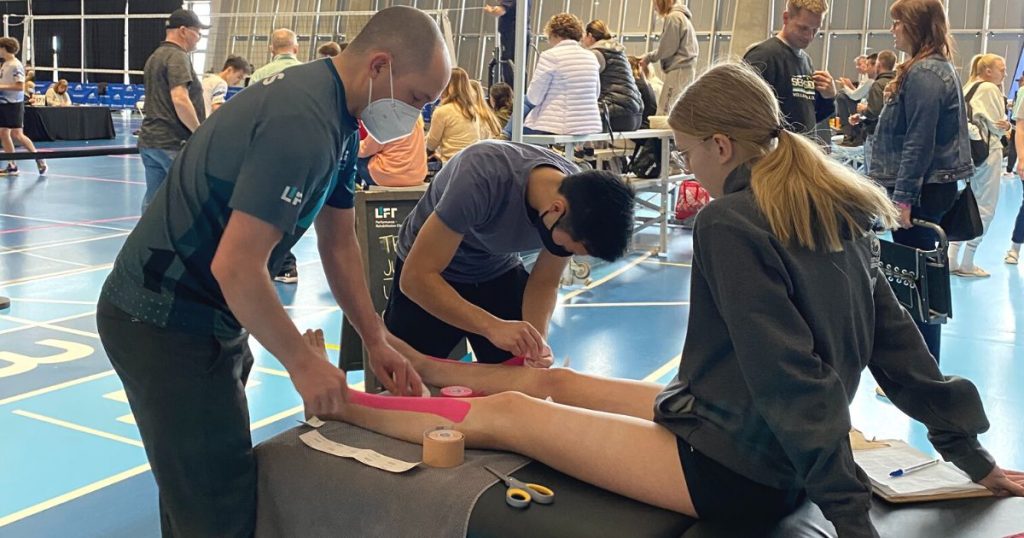
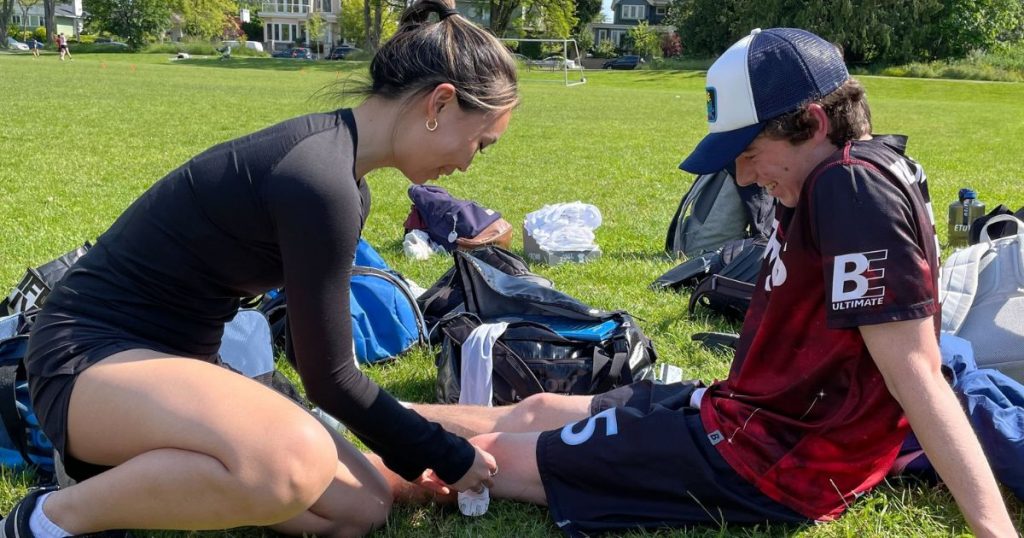
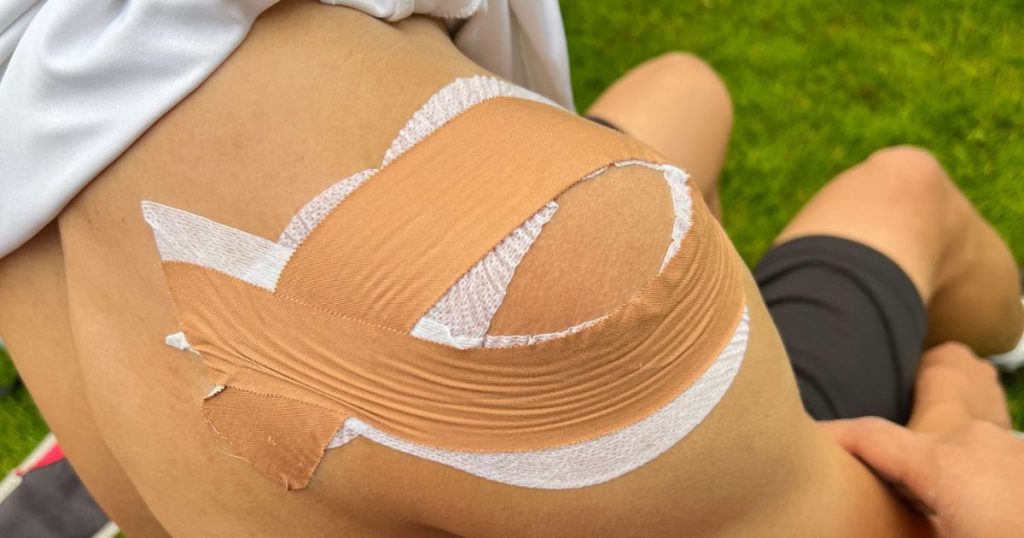
Learn about taping principles and how you can use tape to help athletes in your community perform at 100%
Have you ever seen a pro athlete or a teammate wearing tape during a practice or game? If you wondered what that tape is for, or how you could learn to apply those tape jobs on your own, read on!
Tape is a useful tool that therapists and trainers use to help athletes manage and prevent injuries on the field. In this next post in our series on injury management, we’re going over the principles of taping and how you can tape athletes to help them reach their goals! If you haven’t already, also go check out our previous posts on concussion management and first aid kits.
What is taping and what is it for?
Taping is the application of adhesive tape (elastic or non-elastic) and related products with the goal of accomplishing the following:
- Provide support and protection for soft tissues and joints
- Minimize swelling and pain after injury
- Improve athlete safety for activities of daily living and/or return to sport

What are the different types of tape?
There are two basic categories of tape and each has different goals and applications for athletes.
- Stabilizing tape: These include non elastic tapes such as zinc oxide (white athletic tape) and leukotape. Tape jobs that use this tape are meant to increase mechanical stability, improve safety, and reduce pain.
- K-tape, kinesiotape or rock-tape: These tapes are used for neuromuscular stimulation, proprioception and pain reduction, and muscle facilitation or relaxation. Elastics tapes like these can also be used for edema control/management.
What you need to know before applying a tape job
Familiarizing yourself with the following principles will help you create an effective tape job:
- Know your anatomy
Many components of a tape job aim to mimic structures or movements in the body. Knowing the function of these structures and the movements available within a joint can help you create tape jobs that accomplish their goals. It’s also helpful to familiarize yourself with landmarks around a joint so you know where to place your tape.
- Thorough assessment and diagnosis
Thorough assessments and diagnoses are important to determine if tape is helpful. Clinicians at Lift Clinic are able to pin point the root causes of pain and limitations in movement. If you or an athlete has an injury, book in with a clinician to get a proper assessment and from there, we can help determine which tape jobs can be effective.
- Understand sport specific movement patterns and athlete needs vs. preferences
Athletes will have different needs depending on their sport and their personal preferences. Some athletes prefer tighter tape jobs while others many want them to be more loose.
Dealing with an on-field injury? Click to book online or call us to book with a clinician and get back to 100%
What to consider beforehand
Before applying a tapejob, it’s important to communicate with the athlete to get a better sense of their injury and their expectations with taping.
When an athlete requests taping, ask:
- What is the injury?
- Have you seen a professional for this?
- Have you been taped before?
- What is your goal for taping?
- What is your level of function without tape (assess after asking)
Taping is one part of your overall approach to injury management. It is not a substitute for treatment and rehabilitation.
If an athlete requests taping but are not seeking treatment, this is a warning flag and an opening for a conversation about how to best manage their situation.

Let's put some tape on!
- Wash the area/ensure it is clean, dry and free from sweat/oil/dirt
- Prewrap or remove hair if needed
- Check skin condition, ask if they have used tape before or have experienced adhesive allergies (e.g. with band-aids)
- Maintain even pressure as tape is applied
- Instruct athlete to maintain limb in desired position during the tapejob
- Explain the goal of the tapejob and what they should expect to feel as they resume movement
Cautions when taping
Tape Adhesive Allergies: Advise all people you tape that if they notice redness/itch/swelling or discomfort of the skin, remove and wash with gentle soap/water solution.
Infection: Compressing/stimulating the skin over an infection may make things worse and is contraindicated
Wounds: Use good judgement when applying tape around wounds
Don’t aggressively rip off tape like in the movies: Leukotape is especially strong adhesive and athletes should be warned of this
How to tell if your tape job is working
- Is pain reduced?
- Is stability/control/balance improved?
- Is performance improved?
- Is performance adequate for return to activity?
- Would bracing be superior, more cost effective or allow for more independence of the athlete?
- How long will this tape job last/will effectiveness diminish?
- Does athlete perceive a loss of performance?
- Is the athlete safe to return to activity?
Practice makes perfect!
Taping can be a tricky thing to learn but with enough practice, you will get the hang of it! Try the following tips to get a jumpstart on your taping skills:
- Practice on friends
- Gain exposure in shadowing environments
- Start assisting with real athletes at events/games
- Varsity trainer experiences are highly recommended
- Community sport teams (e.g. Rugby) often need help or are happy to take on a volunteer
- Be consistent, and patient with yourself, expect to get good at it after months of practice

Bonus tip: making practice strips
Tape can be expensive. To practice your lines, fold over zinc oxide tape on itself in lengs of 12 and 24 inches, as well as half-strips. You can use these reuseable strips to practice your angles and memorize the steps of your tape jobs.
Learn to tape with our physiotherapist, Travis Dodds!
We’ve created over 20 videos detailing different tape jobs to use on the field. We’ve compiled all of them in a previous blog. Click here to check it out and apply what you’ve learned to start taping!
